Showing posts with label Organizer Pattern. Show all posts

Saturday, September 21, 2013

Jitter Bucket 5 quart bucket with Piping

Adding piping to the Jitter Bucket pockets and slightly adjusting the pocket fabrics gives a new look to this Buckets Gone Wild! design. The self made piping actually makes the seams sharper. I don't particularly like the fabric, but the piping does make a statement.  I'm going to try it next with juvenile prints.

 Trim outside fabric 1 inch; add 2 inches to lining.
 
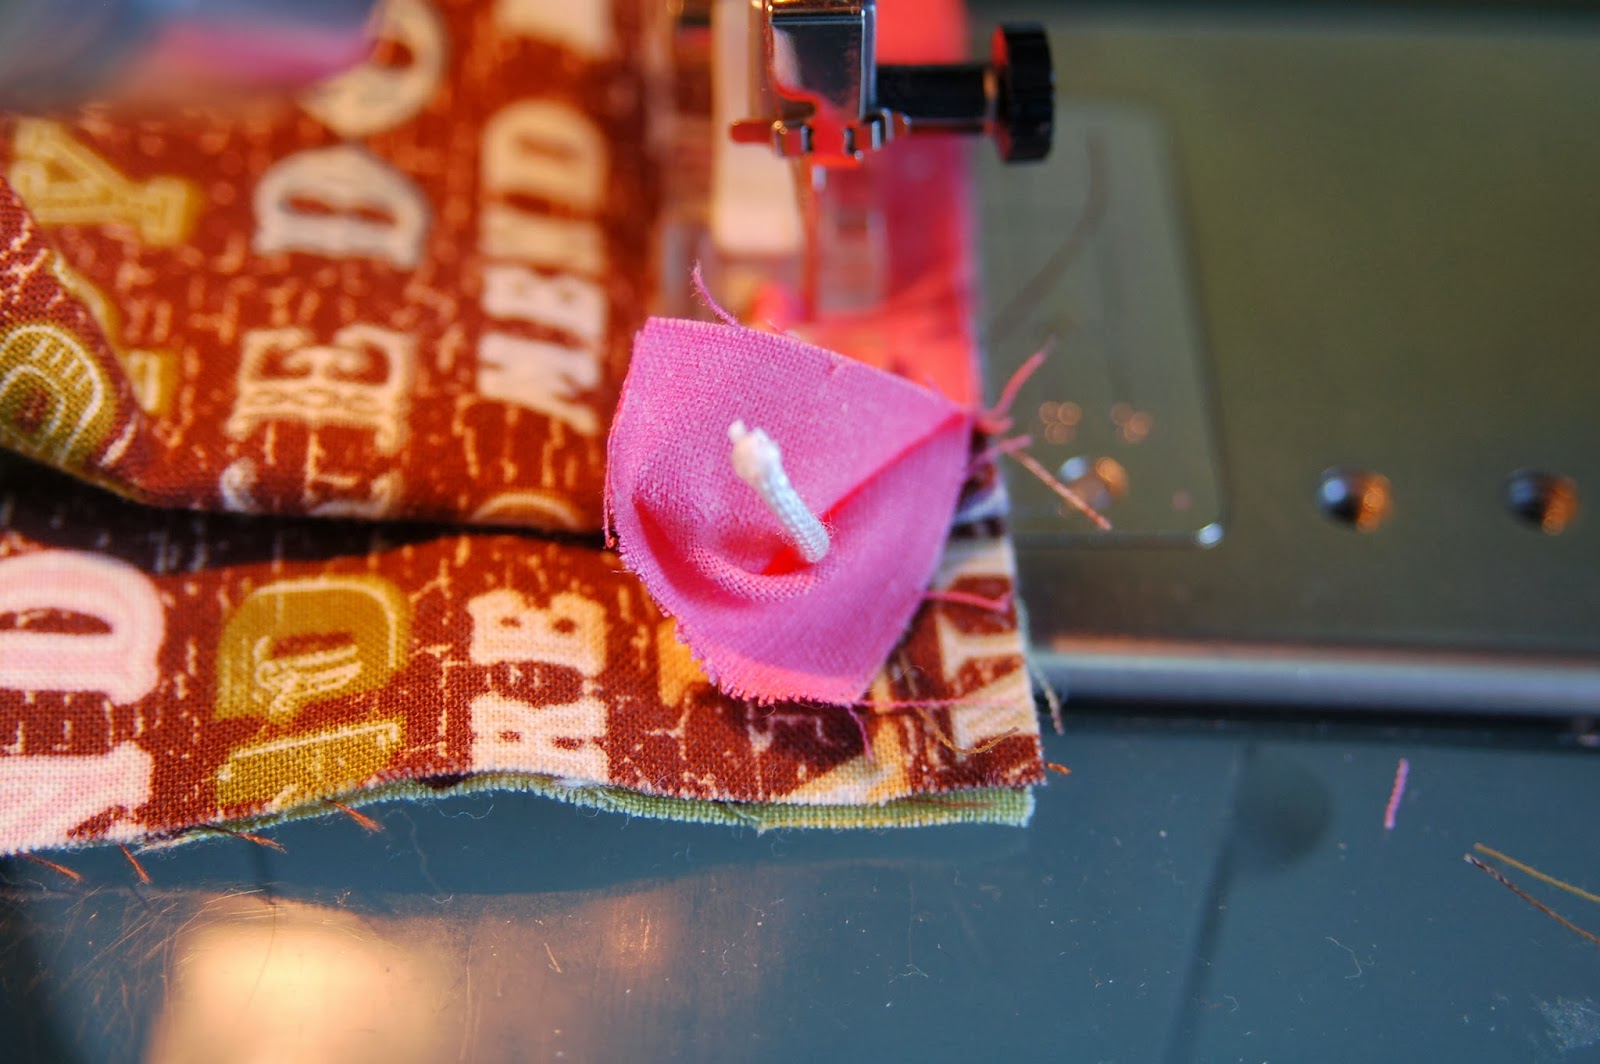
 Slip piping between main fabric & lining on pocket.  Stitch with cording or pearl foot.
 
 Turn back fabric and trim cording before joining.
 
 Press seam up.
 
  Fold lining to back, making contrasting band on front.
  
 Press pocket on outside.
 
 
 Topstitch close to piping, using cording foot.
 
  Stitch piping to lower edge of pockets.
  
   Turn back binding and trim cording. 
 
 
 Follow piping stitch line to join binding to body
 
 Press binding away from piping.
  
 Turn binding to inside and stitch.
  
  Turn bucket upside down & cover with batting.
  
 Glue fabric circle to bottom.
  
 Secure fabric edges with tape.
  
  Use alternating scraps to make bail cover and trim.
 
Enjoy your Jitter Bucket!

Monday, July 30, 2012

Piping Sew Perfect

Piping Sew Perfect


Cut strip of fabric twice the width of desired piping plus the circumference of the cording.  You can use any firm cording of any size.  I'm using a polyester drapery cord that is 1/4 inch around.  I want 1/2 inch wide seam allowance so the fabric was cut  1 1/4 inch wide.  Preshrink cord if necessary.


Fold strip in half lengthwise wrong sides together and press.


Press 1/2" paper-backed fusible web to one side of the fold.

Remove paper.

Place the cord along the center fold.


Fold the side with the fusible web over the cording and press, pushing the cord toward the fold.  Protect the ironing surface with a teflon sheet, parchment paper or  release paper from fusible web.

Joining Piping
Cleanly cut an end on one piping strip to be joined.

 On other piping strip, pull the binding back 1 1/2 inches.
Turn under 1/4 inch.


Glue baste the under side of the folded edge to the back of the cut piping. Cut cording  evenly with the cut end of the first piping.

Fold the free edge of piping  over the other and glue baste.


Press the seam allowance against the cording.  
Use your cording foot to insert in the seam.  No unsightly basting stitching to show! I used this piping in a new design for the Jitter Bucket organizer pattern.

Georgia Manning Lewis

Monday, May 17, 2010


The Traveler is here at $7.50 through June 1!
This organizer pattern fits over the right shoulder and is connected to webbing or a self-fabric strap that slips through a D-ring on the left and loops behind to connect to a parachute clip 5 inches from the organizer on the right. Multiple carabiner clips can be placed on either side to hold tools, water bottles, keys or tape measures. A magnetic snap in the center securely closes the bag.
To introduce the newest Buckets Gone Wild! pattern, all patterns are priced at $7.50 through June 1, 2010.
The website, www.bucketsgonewild.com has the dimensions for this great organizer.
Special tutorial included on the Zippidee Zips!