
Adding piping to the Jitter Bucket pockets and slightly
adjusting the pocket fabrics gives a new look to this Buckets Gone Wild!
design. The self made piping actually makes the seams sharper. I don't
particularly like the fabric, but the piping does make a statement. I'm going to try it next with juvenile
prints.

Trim outside fabric 1 inch; add 2 inches to lining.

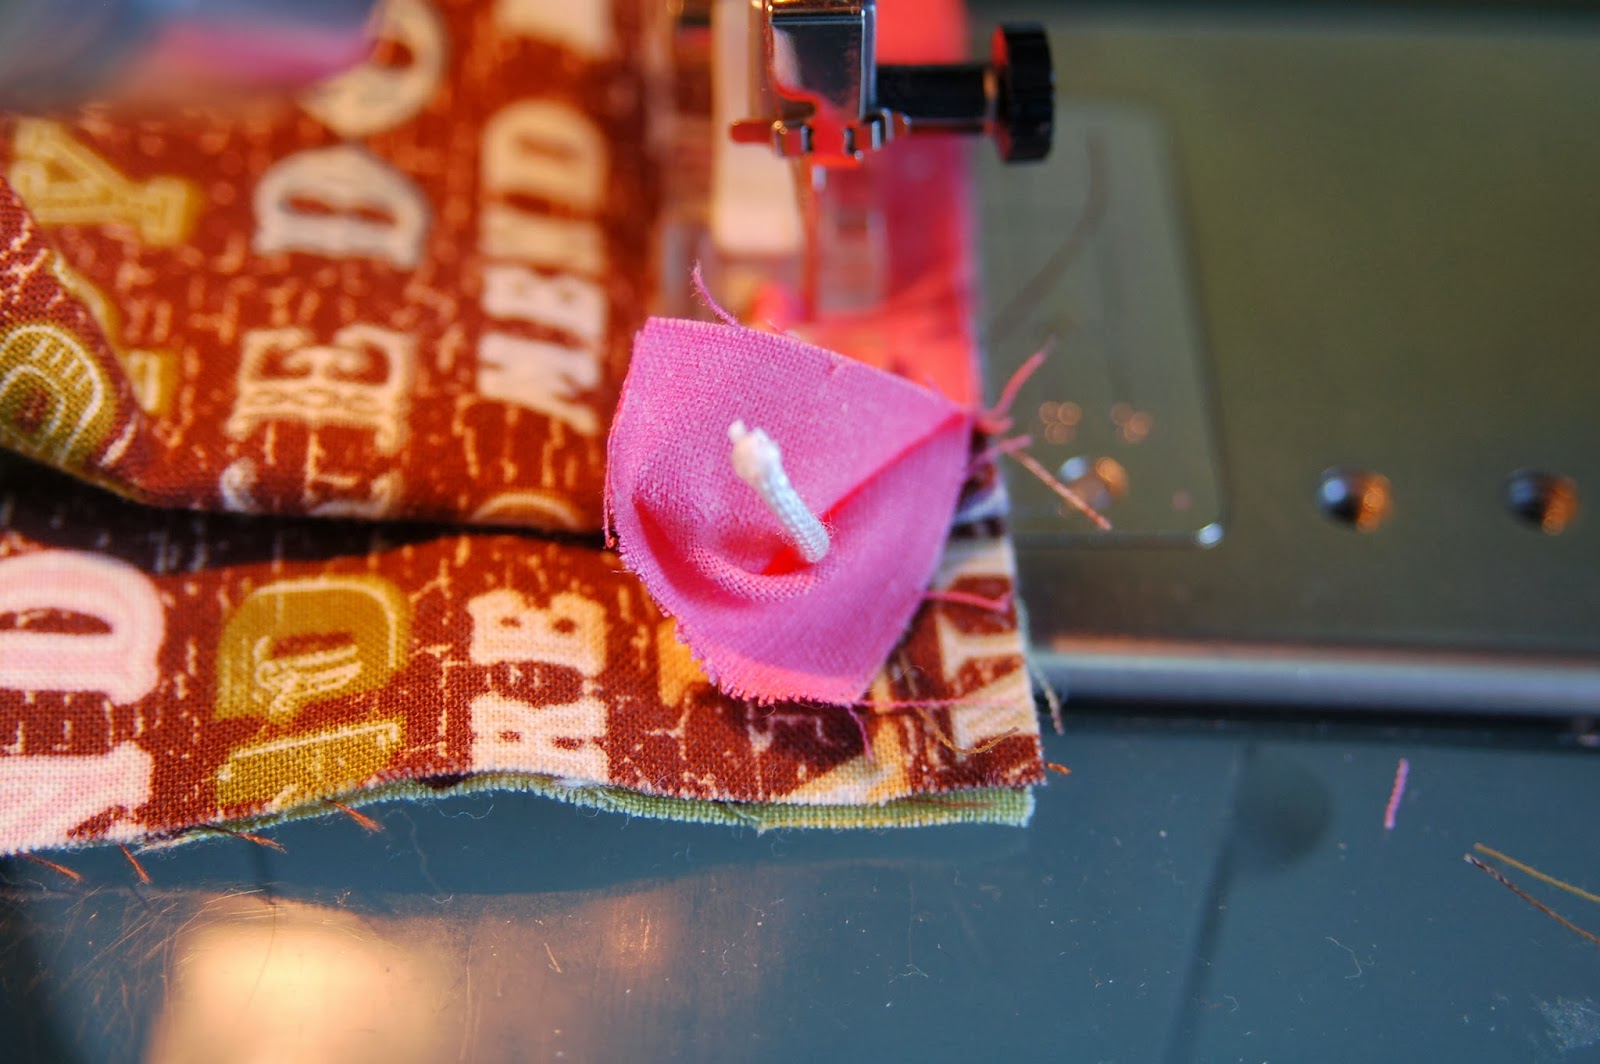
Slip piping between main fabric & lining on pocket. Stitch with cording or pearl foot.

Turn back fabric and trim cording before joining.

Press seam up.

Fold lining to back, making contrasting band on front.

Press pocket on outside.

Topstitch close to piping, using cording foot.

Stitch piping to lower edge of pockets.

Turn back binding and trim cording.

Follow piping stitch line to join binding to body

Press binding away from piping.

Turn binding to inside and stitch.

Turn bucket upside down & cover with batting.

Glue fabric circle to bottom.

Secure fabric edges with tape.

Use alternating scraps to make bail cover and trim.
Enjoy your Jitter Bucket!